Understanding the Process of Installing a Ground-Level Pool
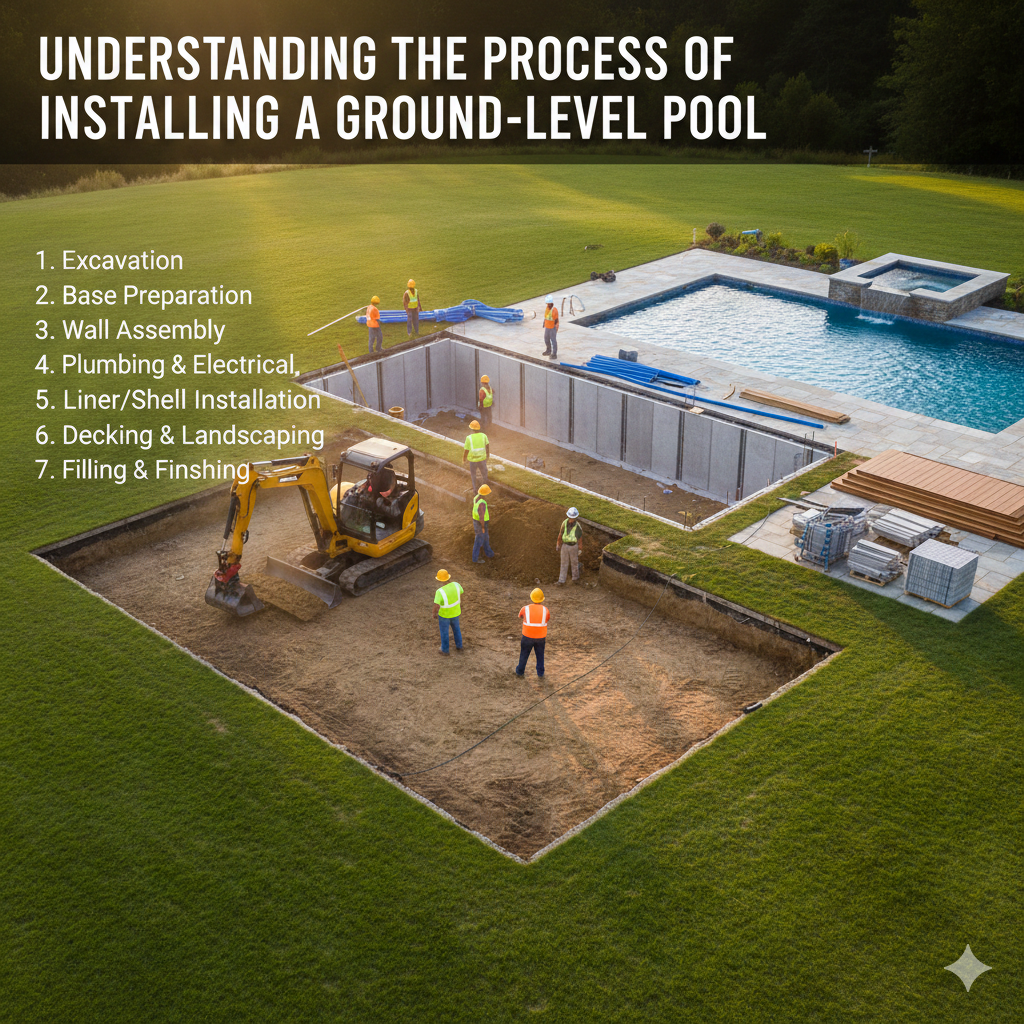
Installing a pool is an exciting upgrade for any homeowner. A well-designed inground pool not only adds value to your property but also creates a private retreat in your backyard. Understanding the installation process can make it smoother and more rewarding. Whether your goal is fitness, family fun, or a stylish outdoor oasis, being informed helps set realistic expectations and timelines. Factors like climate and landscape play a key role in planning, making careful preparation essential. From securing permits to excavation and final inspections, each step ensures a durable, high-quality pool that you can enjoy for years to come.
Initial Planning and Consultation
The installation process begins with a consultation with a professional contractor to bring your vision to life. During this meeting, you’ll discuss details like pool size, shape, depth, and features such as lighting, tanning ledges, or water elements. Factors like seasonal weather, property slope, and sun or shade exposure are also considered. A site evaluation helps identify the best layout and addresses potential challenges, such as tree roots, underground utilities, or drainage issues. A well-planned consultation ensures your pool is both visually appealing and built to last.
Designing the Pool
Once your preferences are clear, the contractor will create a customized design plan. This plan will include sketches or 3D renderings to help you visualize the finished pool and its surrounding area. This is the stage to make any adjustments to better suit your lifestyle and budget. The design also incorporates surrounding elements like decking, fencing, and landscaping. Finally, any required safety features mandated by local regulations will be included in the plan.
Securing Permits
Before starting excavation, you must obtain permits from your local municipality to ensure the project complies with building codes and safety regulations. Permit requirements vary by county, but your contractor typically handles this process. Inspections may be needed at various stages, including before excavation, during plumbing and electrical work, and after final completion. Following the proper steps helps avoid delays and ensures your pool is safe and up to code.
Excavation and Framing
Once the permits are in place, the excavation can begin. Heavy equipment is used to dig a hole that matches the pool’s exact dimensions. This phase can take a few days, depending on the pool’s size and soil conditions. After the hole is dug, the area is framed with a steel rebar structure to support the pool shell. This is also when plumbing lines and drainage systems are installed. For inground pools in Utah, the framing and plumbing are designed to withstand significant temperature changes and ensure proper water circulation year-round.
Electrical Work and Inspections
After the framing and plumbing are complete, it’s time to install the electrical components, including pool lights, pumps, filtration systems, and control panels. Electricians must follow strict safety codes, especially when working around water. Another inspection is often required at this stage to ensure all electrical work is compliant. Passing this inspection is crucial before moving on to the next phase of construction.
Pouring or Placing the Pool Shell
Depending on your pool type—concrete, vinyl liner, or fiberglass—the shell is either poured on-site or placed into the excavated hole. Each material has its own installation process and timeline. Once the shell is in place and the surface is smoothed and sealed, the pool will begin to take its final form. Homeowners often choose materials that can withstand temperature changes and are easy to maintain.
Backfilling and Decking
Once the shell is secure, the area around it is backfilled with soil or gravel for support. Next, the deck is installed around the pool to create a finished, functional space. You can choose from materials like stamped concrete, pavers, or stone to match your yard’s aesthetic. This step transforms the construction zone into a relaxing outdoor area.
Filling the Pool and Testing Systems
After construction is completed, your pool is filled, and all systems are tested, including pumps, filters, lights, and any additional features like heaters or waterfalls. The contractor will balance the chemicals to ensure the water is clean and safe. You’ll also receive a detailed walkthrough on how to operate the equipment, maintain the pool, and keep it in excellent condition. Proper maintenance ensures your inground pool stays efficient and visually appealing year-round.
Conclusion
With everything ready, it’s time to enjoy your pool. Whether it’s a peaceful morning swim or a lively afternoon with family and friends, your new inground pool brings daily enjoyment to your life. A well-installed pool provides a space for relaxation, connection, and outdoor fun—all in the comfort of your own backyard.
Read more